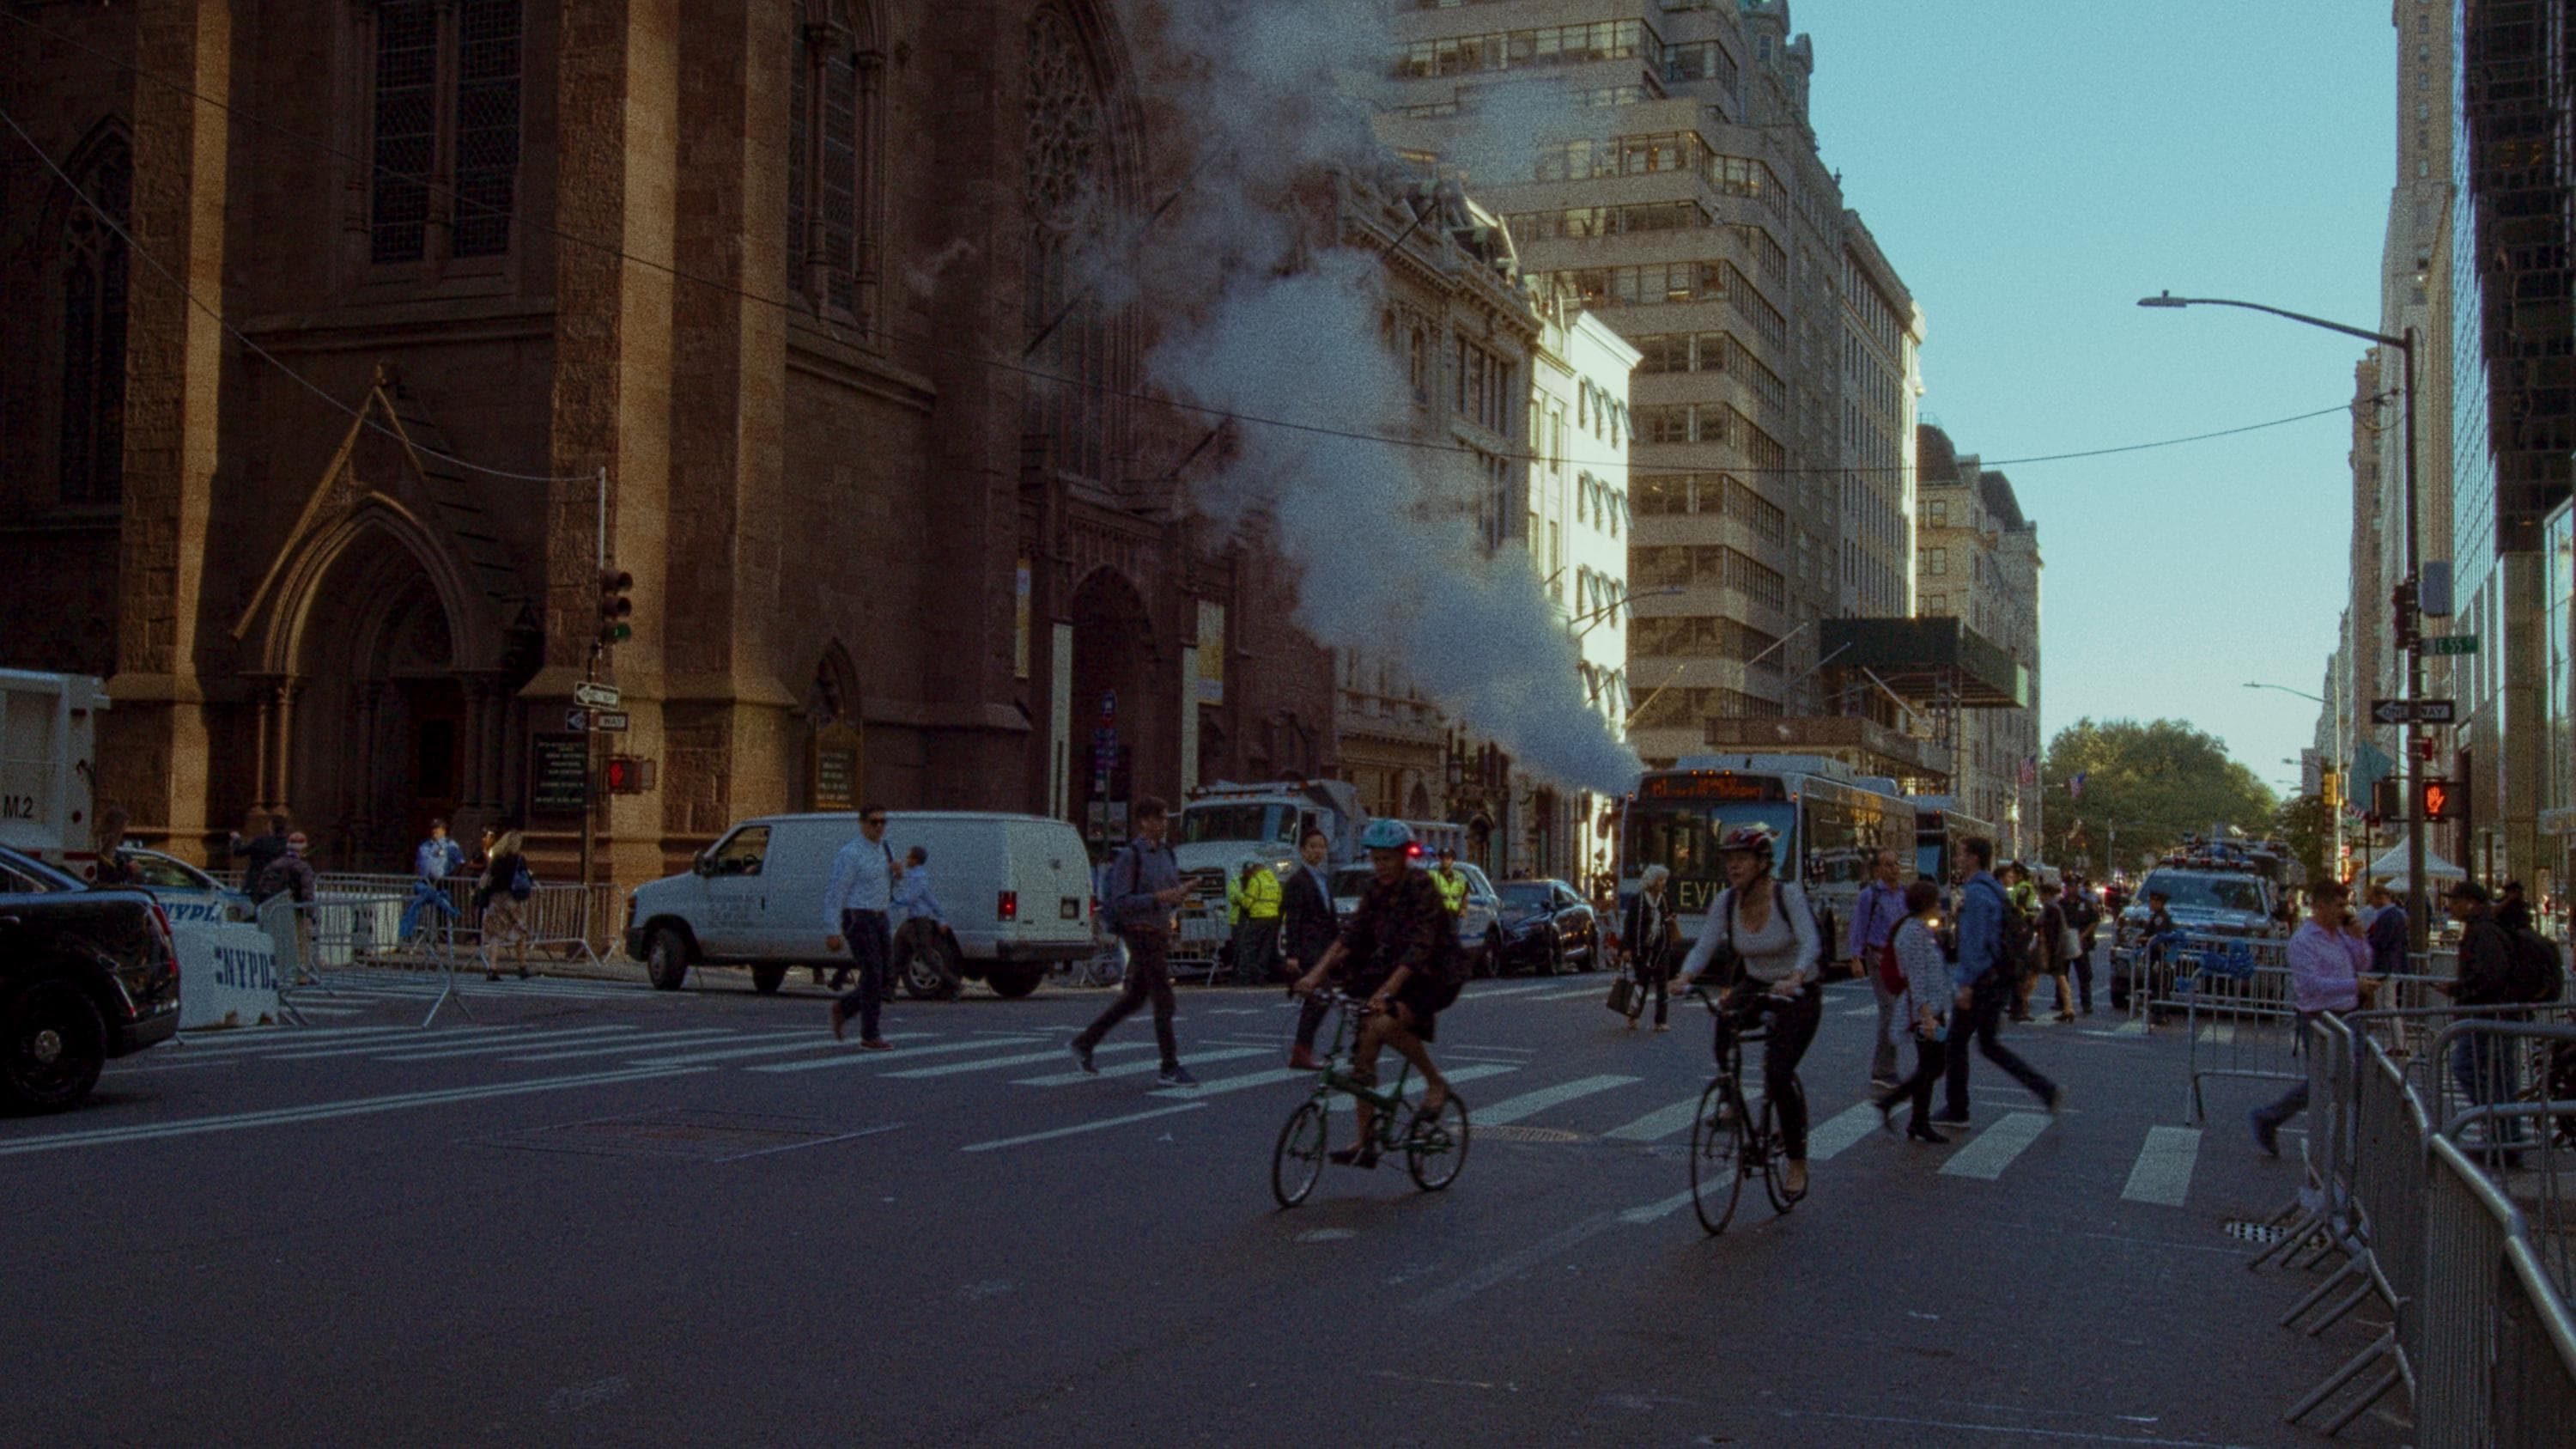
Thank you for choosing ANALOGICAFILMe, a tool designed to authentically recreate the look and texture of vintage 16mm film in a modern digital workflow. To achieve the best results, it’s important to follow a few essential guidelines regarding image preparation, LUT handling, performance optimization, and effect tuning. This article walks you through everything, step by step.
1. Preparing Your Image: The Most Crucial Step
ANALOGICAFILMe is not meant for color correction—it’s a final creative layer. That’s why it’s absolutely essential that the image fed into it is already properly balanced and ready for creative finishing.
Expected Input Format: Rec.709
ANALOGICAFILMe expects the image input to be in Rec.709, the standard video color space for viewing-ready content.
If you’re working with LOG or RAW footage
In that case, you’ll need to convert your footage to Rec.709 before applying ANALOGICAFILMe. You have several options:
- Use a color-managed workflow with ACES or DaVinci Wide Gamut / DaVinci Intermediate for an accurate transformation.
- Apply appropriate technical conversion LUTs (e.g., from S-Log, V-Log, BRAW, etc.), and ensure the image looks aesthetically correct—with proper contrast, saturation, and white balance.
2. Project Performance and Optimization
Since Fusion-based effects can be computationally heavy, we recommend the following workflow to ensure smooth performance:
- Use a low-resolution timeline (e.g., 720p) while grading and previewing your project.
- Switch to 4K or higher resolution only during final export.
This practice improves performance not only when using ANALOGICAFILMe, but across all DaVinci Resolve projects involving complex nodes.
3. Adjusting the Intensity of the Effect
ANALOGICAFILMe is designed to reproduce the strong visual identity of vintage 16mm film. Depending on your footage, the effect might feel intense by default. Here’s how to adjust it to better fit your project:
At the clip level
You can reduce the opacity of the clip where ANALOGICAFILMe is applied by modifying the Composite/Blend setting in the timeline. Suggested range: 50% – 70%, but feel free to adjust based on your desired look.
At the Fusion node level
Inside the Fusion panel, each node in the ANALOGICAFILMe composition can be adjusted individually. Select a node and open the Settings tab (on the right), where you’ll find the “Blend” slider—use this to fine-tune the influence of each visual element (e.g., grain, glow, film flicker, color, etc.).
4. Handling LUTs: One-Time Setup for Ongoing Efficiency
The first time you open ANALOGICAFILMe, you’ll be asked to manually load the required LUTs, as explained in the included tutorial video.
Avoid repeating this step in the future
Once the LUTs are loaded:
- Save the Fusion composition as a preset (or duplicate the project).
- Use that version with LUTs already included for all future projects.
Important: Maintain LUT File Paths
Make sure the LUTs remain in the exact same location on your system as they were when you saved the composition. Moving or renaming them can break the LUT references and cause errors in future projects.
5. Recommended Workflow Summary
Here’s an overview of the optimal workflow for ANALOGICAFILMe:
- Import and convert LOG/RAW footage → Rec.709, balancing the image beforehand.
- Apply any color correction and base look adjustments before ANALOGICAFILMe.
- Apply ANALOGICAFILMe to the already balanced image.
- Adjust the intensity via the clip’s Blend setting or Fusion node Blend sliders.
- Work in a 720p timeline for grading, and export in 4K only at the end.
- Save a pre-configured version with LUTs loaded for use in future projects.

