

The Secret to a Cinematic Look: FilmEspresso and FilmProcess in DaVinci Resolve
If you’re a filmmaker or a colorist chasing that perfect cinematic vibe, you know how tricky it can be to find the right sweet spot for your footage. Sure, LUTs and color corrections can help, but nothing quite compares to the organic feel of real film. That’s where FilmProcess and the new FilmEspresso DCTL come in — making it easier than ever to give your footage that analog touch.
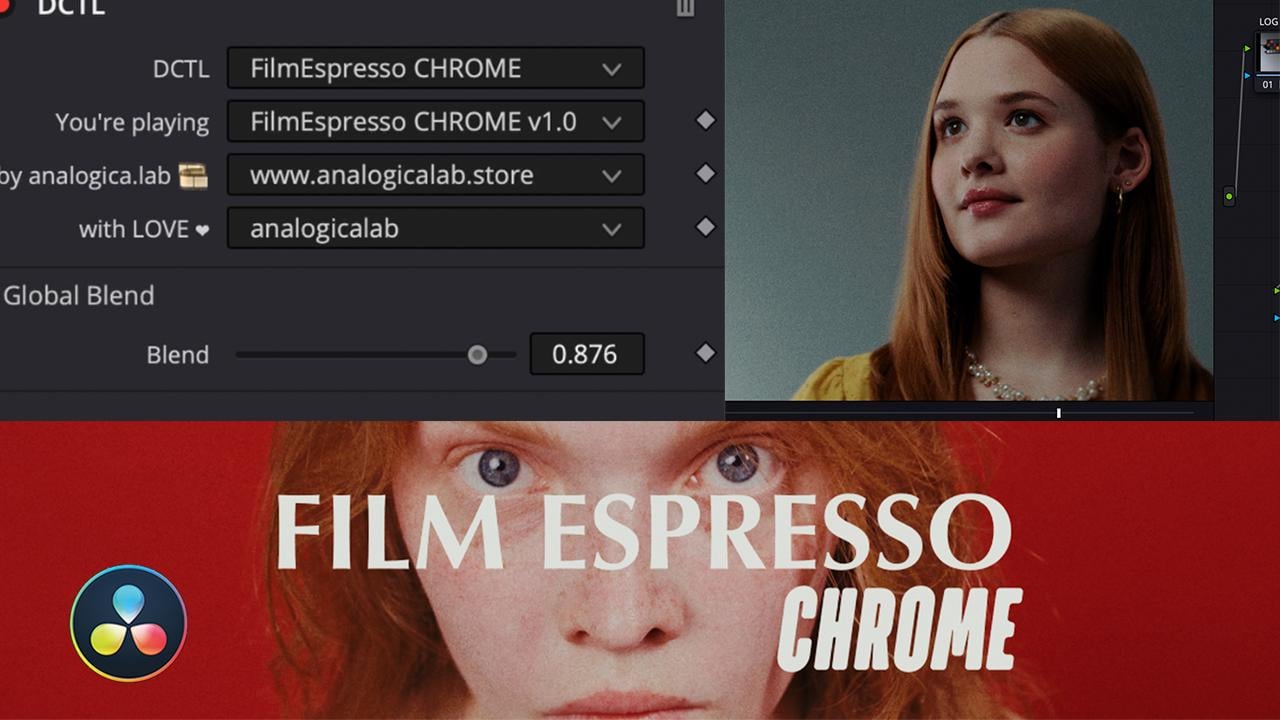
What is FilmEspresso?
FilmEspresso is a DCTL for DaVinci Resolve designed to emulate Kodak Chrome film in real time. And it’s more than just a color filter. It adds authentic film grain, subtle blur, and micro-movements, giving your digital footage the natural texture and movement of real film. Every frame feels alive, and the results are instantly cinematic.
How the Pipeline Works
The typical workflow combines FilmEspresso with FilmProcess in a structured node setup. Here’s the general idea:
- ACES Transform nodes sit at the outer layers, giving you a controlled color space to work in.
- Inside the “node sandwich,” you’ll use three key FilmProcess nodes:
- TheRanger: controls tonal range and contrast.
- LightPower: fine-tunes highlights and exposure.
- TheVibe: sets mood and color harmony.
Placing FilmEspresso after this node sandwich lets you tweak grain, blur, and micro-movements in real time. Pairing it with FilmProcess nodes gives you fine control over every detail, from color nuances to tonal subtleties.
Why This Workflow Works
The magic of this pipeline lies in the combination of technical precision and artistic freedom. Adjustments feel immediate and intuitive. Grain, tone, and color interact naturally, creating a look that’s rich, organic, and timeless. Unlike traditional LUTs, this setup doesn’t flatten your image — it enhances it, making it feel as if you’re working with physical film stock.
Quick Tips for Using FilmEspresso and FilmProcess
- Start simple: Tweak FilmEspresso first to set the base film texture.
- Adjust in layers: Use the FilmProcess nodes to refine contrast, exposure, and mood.
- Check your ACES transform: Make sure your color space is consistent to preserve the subtlety of your adjustments.
- Experiment: Don’t be afraid to push TheVibe node to create unique cinematic moods.
Conclusion
FilmEspresso and FilmProcess together make achieving a cinematic look fast, intuitive, and fun. Whether you’re working on a short film, a commercial, or just experimenting, this workflow gives you full creative control with the authentic feel of analog film.Once you start using it, you’ll wonder how you ever graded footage without it.